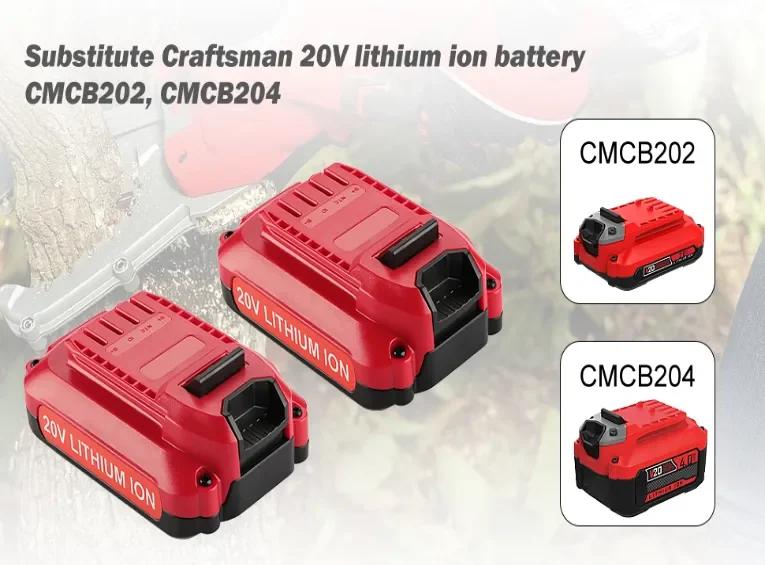
Signs Your Craftsman 20V Battery Is Damaging Your Charger
A compact, field-ready guide for techs: immediate red flags, 3–5 minute isolation checks, safe multimeter/load procedures, replace-vs-repair heuristics, logging template, and a one-line jobcard flow for fast decisions.

Immediate red flags — unplug & isolate if seen
If any of these appear, stop work immediately and isolate the equipment.
-
Charger extremely hot, burning/plastic smell, smoke, or loud unusual noise → UNPLUG & ISOLATE.
-
Circuit or charger fuse trips when battery inserted → UNPLUG & ISOLATE.
-
Charger shows persistent error LEDs only with this battery (other batteries OK) → STOP CHARGING.
-
Battery swells, hisses, emits odor, or becomes very hot during charging/use → REMOVE, TAPE TERMINALS & ISOLATE.
Safety priority: when in doubt, treat the pack as hazardous — tape terminals, place in a non-combustible container, and contact your recycler.
3–5 minute isolation checks (jobbox swap & visual)
Run these ordered checks to isolate charger vs battery quickly.
-
Swap test A: Put a known-good battery on the suspect charger — does the charger behave normally?
-
Swap test B: Put suspect battery on a known-good charger — does it fault or overheat?
-
Visual inspection: swelling, cracks, melted plastic, corrosion, or residue around terminals?
-
Contact cleaning: wipe battery & charger terminals with 70%+ isopropyl alcohol, dry, reseat once.
-
If suspect battery still faults after swaps → treat battery as defective.
Immediate actions for a confirmed defective battery
Steps to make a defective pack safe for transport/disposal.
-
Unplug the charger.
-
Tape terminals with electrical tape and label DEFECTIVE — DO NOT USE.
-
If the pack is hot or smoking, move it (with insulated tools/gloves) to a non-combustible area (metal tray/concrete) and ventilate.
-
Deliver to a certified battery recycling/collection point — do not dispose in household trash.
Fast replace vs repair heuristics (field decision)
Use these quick heuristics to decide next action without long bench work.
-
Charger works with other batteries → Replace the battery.
-
Suspect battery trips multiple chargers or overheats on a known-good charger → Retire the battery.
-
Charger faults with multiple known-good batteries, smells, or overheats → Replace the charger.
-
If repair cost (PCB + labor) ≥ ~70% of replacement cost → Replace instead of repair.
Preventive jobbox practices to reduce failures
-
Use manufacturer-recommended chargers only. Smart chargers often protect both charger and pack.
-
Clean contacts monthly and store packs at ~30–50% SOC; avoid extreme heat.
-
Rotate packs in heavy-use fleets to avoid single-pack overuse and thermal accumulation.
-
Keep a labeled fallback set of known-good batteries and one spare charger.
Multimeter & Load Test Script — Field Procedure
Safety: Wear eye protection and insulated gloves. Work on a non-conductive surface. Do not open packs. Do not short terminals. If the pack is swollen, leaky, hot, or smoking — stop and follow disposal steps.

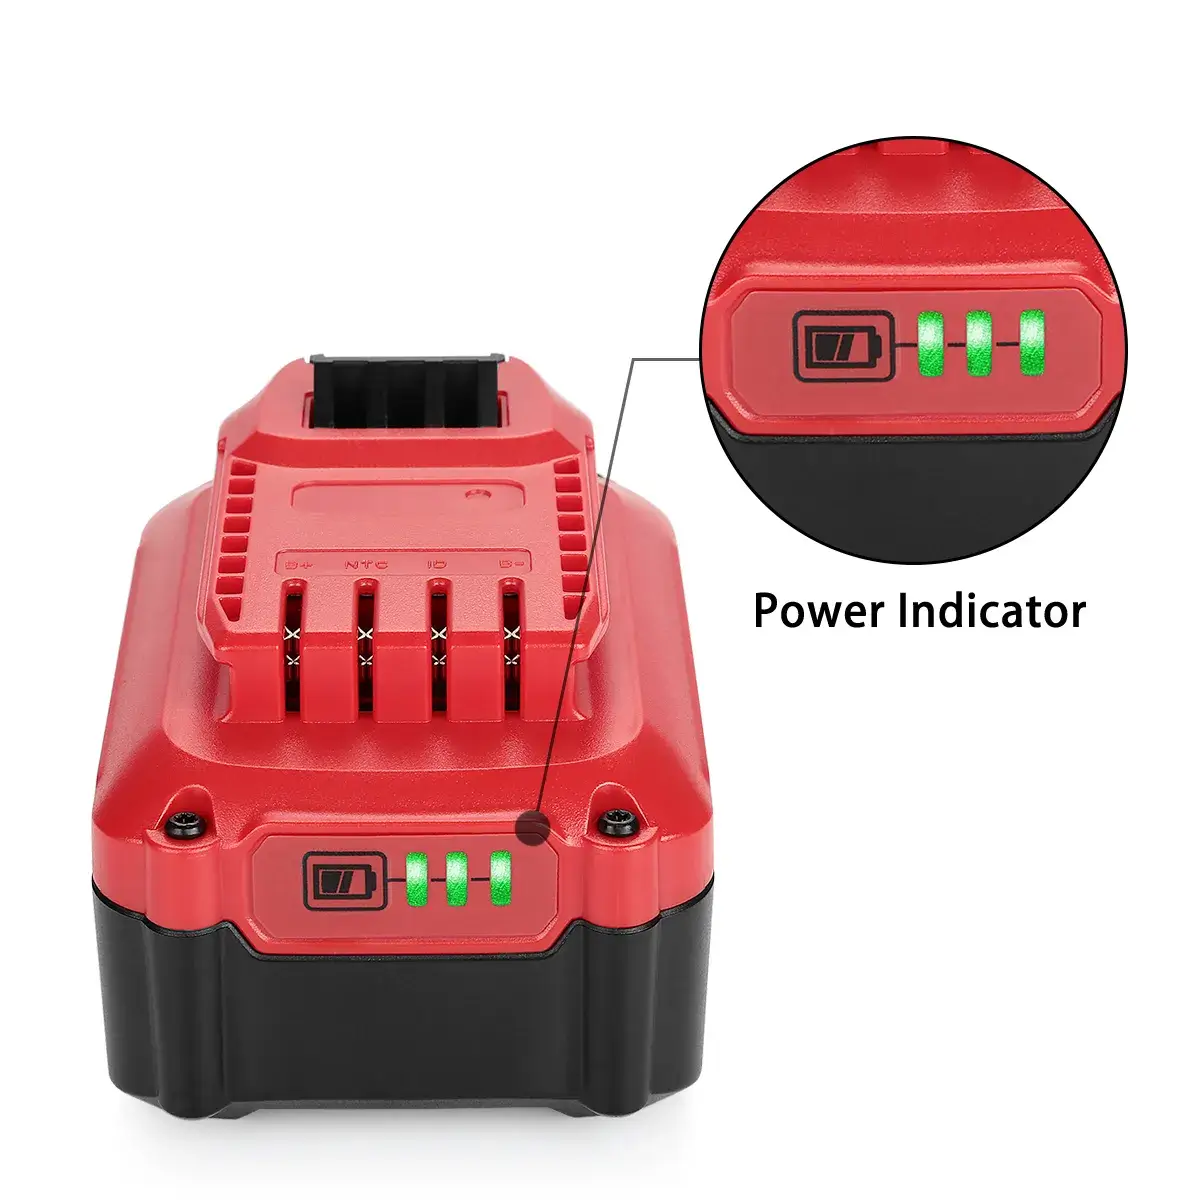
CRA-20V-LI Lithium-Ion Battery For Craftsman CMCCS/CMCCSP Power Tools
Prepare before testing
-
Tools: digital multimeter (0–30 V DC), insulated leads, optional clamp meter, 10 Ω 10 W resistor and insulated clips (for consistent load), stopwatch/phone, notebook.
-
Known-good charger and known-good battery (if available) speed isolation.
-
Clear the bench of flammables; keep a metal tray or concrete block nearby for isolating hot packs.
Visual & LED check (no power)
-
Inspect charger and suspect battery for physical damage, residue, or corrosion.
-
Insert suspect battery on charger and observe LEDs for 10–20 seconds. Note pattern.
-
Normal: steady charge indication per manual.
-
Fault: alternating red/green, fast blink, or no light → note and proceed to swap tests.
-
Swap tests (definitive quick isolation)
-
Known-good battery → suspect charger: If charger faults with the known-good battery, charger is suspect.
-
Suspect battery → known-good charger: If good charger faults with the suspect pack, the battery is defective.
Document which combination failed — this is your primary evidence for replace/repair.
OCV measurement (open-circuit voltage)
-
Ensure battery has been tried on charger or has rested 10–20 min after charging attempt.
-
Set DMM to DC volts and measure across the pack terminals (no load).
-
Expected (Craftsman 20V Li-ion): ~21.0–21.6 V when fully charged.
-
Red flag: OCV < ~15–17 V after charging attempts → deep discharge / internal short / BMS lock.
-
Record OCV value in log.
Charger output spot-check (only if accessible)
Only do this if the charger exposes DC output pins and the manufacturer permits testing.
-
Power the charger (no battery). Measure DC output at charger terminals.
-
Compare to the labelled output. If zero or wildly off-spec → charger defective.
Note: Many smart chargers only drive voltage after handshake, so behavior differs with/without a pack — do swaps if unsure.
Under-load behavior (tool load or resistor load)
Option A — Tool as load (quick & safe):
-
Insert battery into the tool. Run an unloaded or low-torque function for 10–20 s. Measure terminal voltage while running. Observe for stutter, heat, or protection trips.
Option B — Resistor load (repeatable):
-
Clip a 10 Ω, 10 W resistor across terminals with insulated clips (approx 2 A draw).
-
Immediately measure V_load and time for 30–60 s. Remove load after test.
-
Calculate sag:
ΔV = OCV − V_load.
Interpretation (use these jobbox thresholds):
| ΔV (OCV − V_load) | Action |
|---|---|
| ≤ 1.0 V | Pass — battery can supply ~2 A reliably |
| 1.0–2.0 V | Marginal — schedule replacement / monitor |
| > 2.0 V or voltage collapse | Fail — retire and replace battery |
If the battery heats rapidly during load → replace.
Charger behavior during charging (observe)
-
Place suspect battery on charger and time first 5–15 minutes. Watch for: case heating (>45–50 °C), constant fan, smell, or tripping breaker.
-
If the charger behaves normally with other batteries but overheats with the suspect battery → battery is damaging charger — isolate & retire the battery.
Final isolation & action steps
-
Battery defective: label, tape terminals, place in non-combustible container, recycle at certified center.
-
Charger defective: remove from service, tag, and replace.
-
If uncertain: document serials, photos, and swap-test results; escalate to warranty or authorized service.
Compact logging template
Date: ___________   Technician: ___________

Battery model & serial: _______________________
Charger model: _______________________________

OCV (V): ________
V_load (V) under ~2A: ________
Sag (V): ________   (OCV − V_load)

Charger no-load output (V): ________
Observed heat / smell / fault codes: _______________________

Swap tests:
- Known-good battery on suspect charger → (OK / Fault) _______
- Suspect battery on known-good charger → (OK / Fault) _______

Decision: Replace battery / Replace charger / Further service
Notes/actions: ____________________________________________
One-line jobcard workflow
JOBCARD: Visual check → swap tests → OCV measurement → 10 Ω load test → log results → replace if OCV <15–17V or sag >2V or pack causes charger faults.
Quick reference sag table (printable)
| Condition | ΔV threshold | Immediate action |
|---|---|---|
| Healthy | ΔV ≤ 1.0 V | Return to service |
| Marginal | 1.0 < ΔV ≤ 2.0 V | Monitor; schedule replacement |
| Failed | ΔV > 2.0 V | Retire & recycle pack |
Closing notes (best practice)
-
Keep a rotation of known-good batteries and at least one spare charger in the jobbox.
-
Standardize fleet chargers and battery families to reduce cross-compatibility risk.
-
For repeated failures, log patterns (batch numbers, supplier) — a recurring defect often indicates a bad cell lot or counterfeit cells.
-
When in doubt about opening or rebuilding, prefer replacement or an authorized rebuild service — safety and liability matter.